How to transform your tiles with the perfect grout
“To create something exceptional, your mindset must be relentlessly focused on the smallest detail.” Giorgio Armani
The overall look of a space, and the feeling you get in that space, is enhanced by the details. That is why they are so crucial to us during the design process. Choosing the right grout colour is an example of how this attention to detail in one element can transform a whole room.
Choosing the perfect tile is an important part in designing any kitchen or bathroom space, but what people often don’t realise is that finding the right grout to suit the look is just as important.
It is also essential to select the correct product to grout your tiles with, as this can have a massive impact on the look and performance of the floor or wall tile. You wouldn’t want to invest in a beautiful tile, just to have them tarnished by using inferior adhesive and grout.
Before you get started, there are two main considerations to take in to account when deciding what product to use for your project:
1. The width of the grout line that you require;
2. The colour of the grout and the tile.
For narrow grout lines that are smaller than 3mm wide, a non-sanded grout is best, but for a wider detail, then a sanded grout is required as it shrinks less when it dries. Care must just be taken when using the sanded grout, as it can scratch certain tiles, like glass and marble.
Epoxy grout is a newer option on the market and can be used for both narrow and wide joints. What is really useful about this option is that it is has both water and stain resistant qualities, however colour options are limited.
We’ve selected a few of our favourite examples, to demonstrate just how beautiful a tiled space with a carefully selected grout can look, and to give you inspiration to give your home a makeover this autumn.
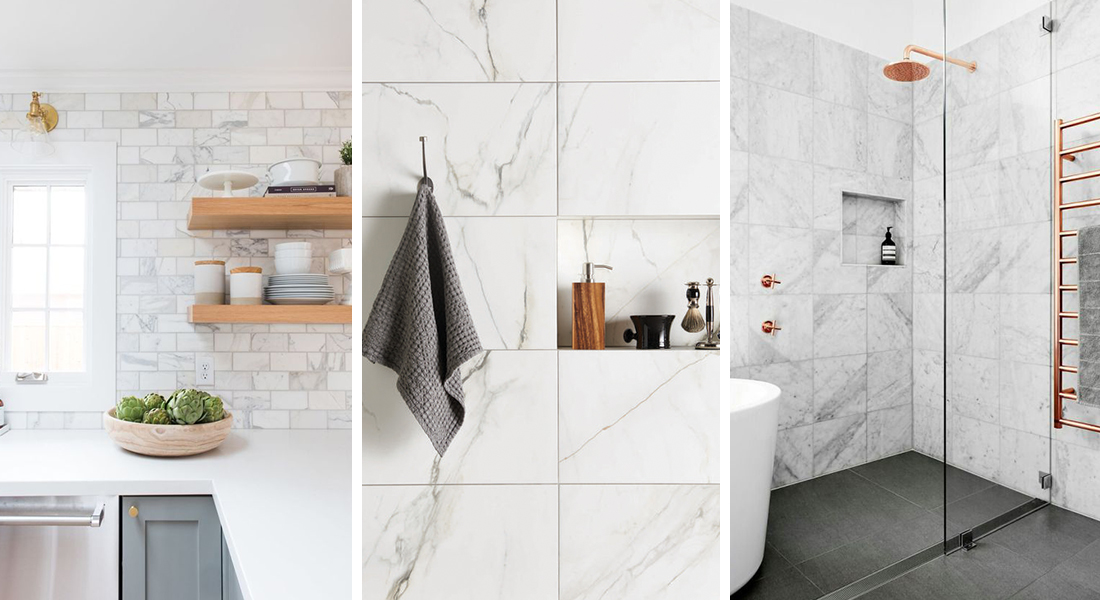
Marble and Natural Stone Tiles: the tile itself has movement, natural patterns and shade variations, so it is best to choose a colour grout that blends in with the colouring of the tile. If you pick a contrasting grout colour, it may look too busy, which then loses the charm of the product completely.
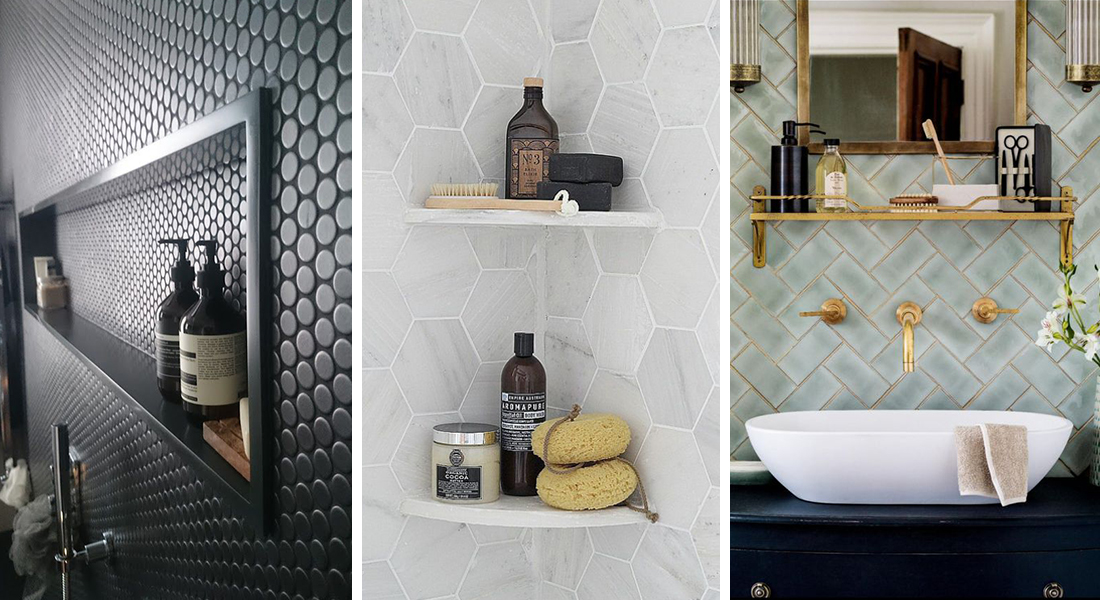
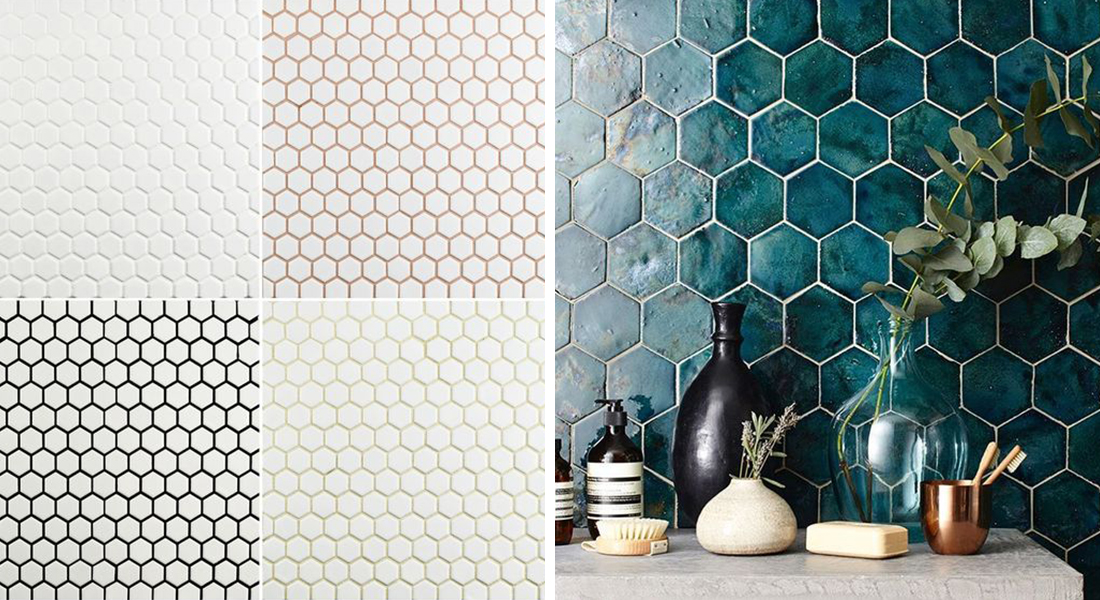
Shaped Tiles: if you’ve chosen a hexagon tile or scallop-shaped tile; or laid a metro tile in a herringbone pattern instead of a straight bonded pattern; the colour of grout can be used to highlight the shape or pattern. This colour doesn’t have to be high contrast to the tile. For example, a grey grout used with a white tile will still have the same impact. If you love the shape, but want to create a subtler look, then a lighter grout will work beautifully.
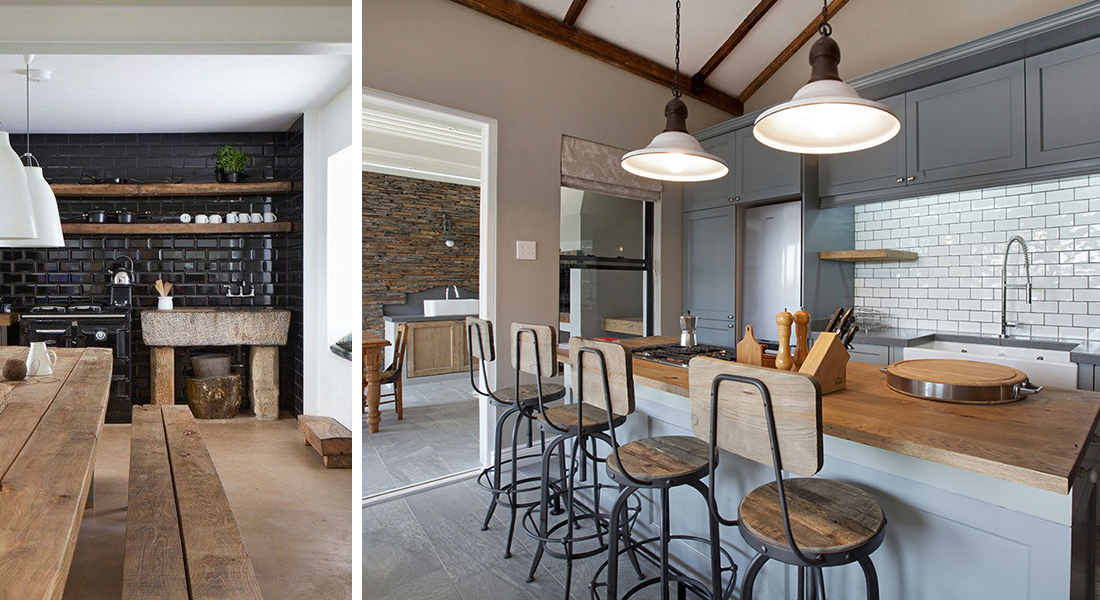
Metro Tiles: this tile is still a go-to option for bathroom and kitchen walls. The bevelled and flat options can both be made to look more traditional or contemporary, depending on the fittings selected, and even more so by the grout colour being used. White tiles combined with a white grout will give you an elegant, clean look; whereas using a white tile with a contrasting grey grout creates a more industrial look. Black tiles are very striking and modern when combined with a matching black grout, and can also be used in combination with white tiles for a classic Victorian-inspired look.
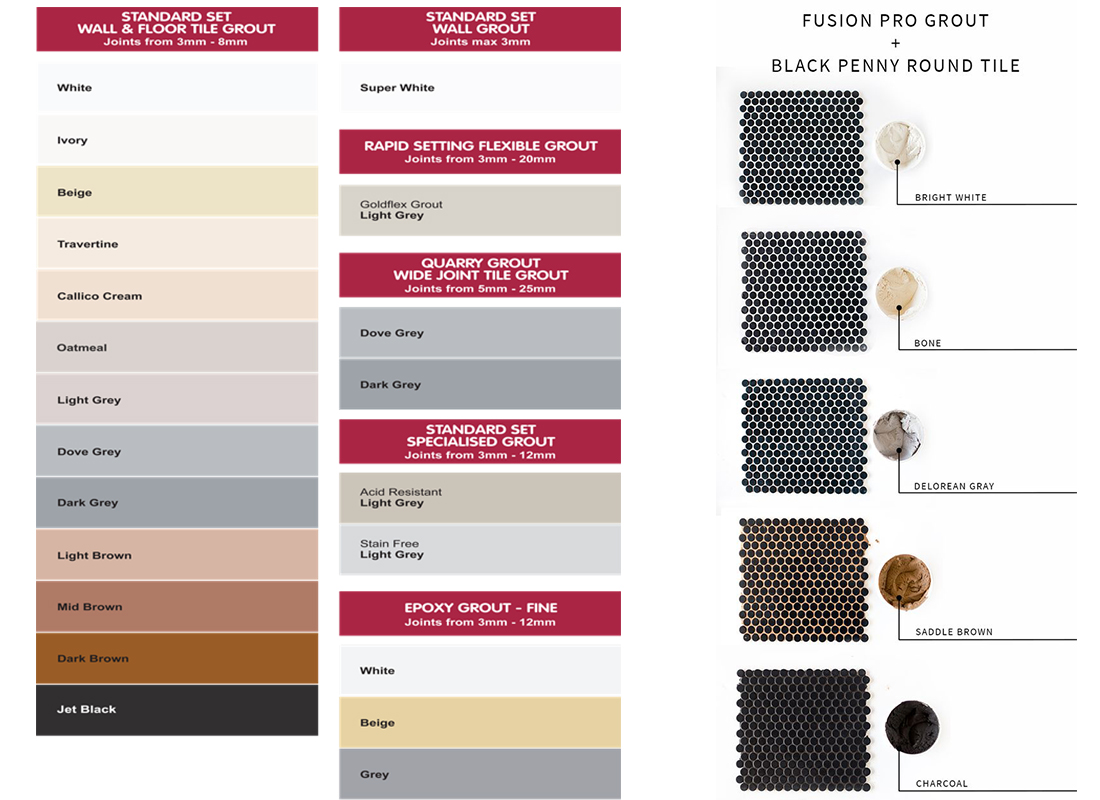
This TAL grout colour sheet supplied by Mazista is a great reference when looking at grout colour options; and there’s even a handy calculator on the TAL website that can be used to verify quantities required.
Creating a fresh new look for your bathroom or kitchen shouldn’t be a daunting experience, and by choosing the right grout to bring your tile choice to life, you’ll create a space you can’t wait to walk into.
